HOW TO PAINT LEATHER + VINYL (DIY STUDIO GUIDE).

LEATHER + VINYL BEGGING FOR CHANGE.
You know those pieces you’ve had for a long time, a chair, a sofa, maybe even a pair of shoes, that still technically work but just don’t feel like you anymore? Sometimes it’s a color you’ve outgrown, sometimes it’s something you picked up secondhand because you loved the shape and scale, but you’ve always imagined it differently. Not wrong, just not quite right for where you are now.
I think it’s easy to assume those pieces have reached the end of their life with us, but sometimes they’re just ready for a glow up. And this is one of those situations where a small change can completely alter how something feels in a space.
You can paint leather, pleather and vinyl. And with the right products and a little time, it’s actually a simple, inexpensive way to bring something back into alignment with your home and your aesthetic.
MY WHY TO DIY.
I don’t consider myself a big DIY person, but I do love working with my hands and being inside of a creative process that leads to a visible transformation. There’s something really satisfying about taking something that already exists, something that has history and has lived with you and giving it another iteration instead of replacing it.
When we moved into our new house, we brought quite a bit with us from our previous home, more than we probably needed to. Between the pace of life at the time and having everyone home, I didn’t fully step into designing and space planning the way I normally would have. So some things landed here that made sense at one point, but over time started to feel a little off. Not in a dramatic way, just a quiet sense that something wasn’t completely working.
One of those pieces was a vintage Italian cane and vinyl settee I found years ago at local Charlotte consignment store, Classic Attic. It had moved with us through multiple homes and had always found its place. I loved it for a long time, but in this house, the orange started to feel disconnected from everything else around it. It was one of those moments where you realize it’s not the piece itself, it’s just no longer in conversation with the space in the same way.
I wasn’t ready to let it go as I still love the style and shape. I just needed it to become something else.
So I started looking into painting leather and vinyl and black felt like the natural direction. It tends to ground things, to quiet them and that’s what the piece needed.
THE PRODUCTS + HOW TO.
What I found and purchased on Amazon was three products by Angelus - Professional Leather Preparer and Deglazer, 2-Soft Fabric Medium and Acrylic Leather Paint. The products were roughly $27.00. It's basically an easy two step process, three if you count sanding, that took a couple of hours total from start to finish.
Easy Steps I Followed -
1) Lightly sand leather or vinyl. This doesn't have to be a long, heavy duty sanding as you're just trying to rough up the finish enough so the paint will adhere well to the leather or vinyl surface.
2) With a soft cloth, apply Professional Leather Preparer and Deglazer to the leather or vinyl. I know it says leather, but it worked on my vinyl. Proceed at your own risk though as it may not work in the same way for you as it did for me. Maybe test a small sample before going all out, like I did. Per the bottle instructions, apply in a circular motion on entire leather or vinyl surface to remove the factory finish. Wipe excess with a clean cloth and allow to dry for several minutes.
3) Mix Angelus 2 - Soft Fabric Medium with Angelus Acrylic Leather Paint. The label says 1:1 ratio, but I actually did a little less than that. The Soft Fabric Medium keeps the paint from cracking. Even using less, I've had absolutely no cracking. However, our bench doesn't get a lot of use so would highly recommend the 1:1 ration of this solution if you'll be using the leather or vinyl furniture daily. Paint your entire surface with a brush, more than one coat may be needed. Once the painting is finished, allow to dry completely before using.
THE END RESULT.
The piece is still the same, but it feels entirely different.
The black gave it a depth and a quietness that the orange didn’t have in this space. It feels more grounded, more in line with everything else around it, and honestly, more like me. A friend saw it and couldn’t believe it had been painted, which I think is always a good sign that the finish feels natural rather than forced.
I’m not sure where it will ultimately land in the house, but for now it’s sitting under the stairs and feels at home there.
It’s such a simple shift, but it gave this piece another life in a new environment. That idea of something continuing on, changing as you change, is something I keep coming back to in both my home and my work.
There are so many directions you could take this, shoes, handbags, furniture, anything with a good structure that just needs a different expression.
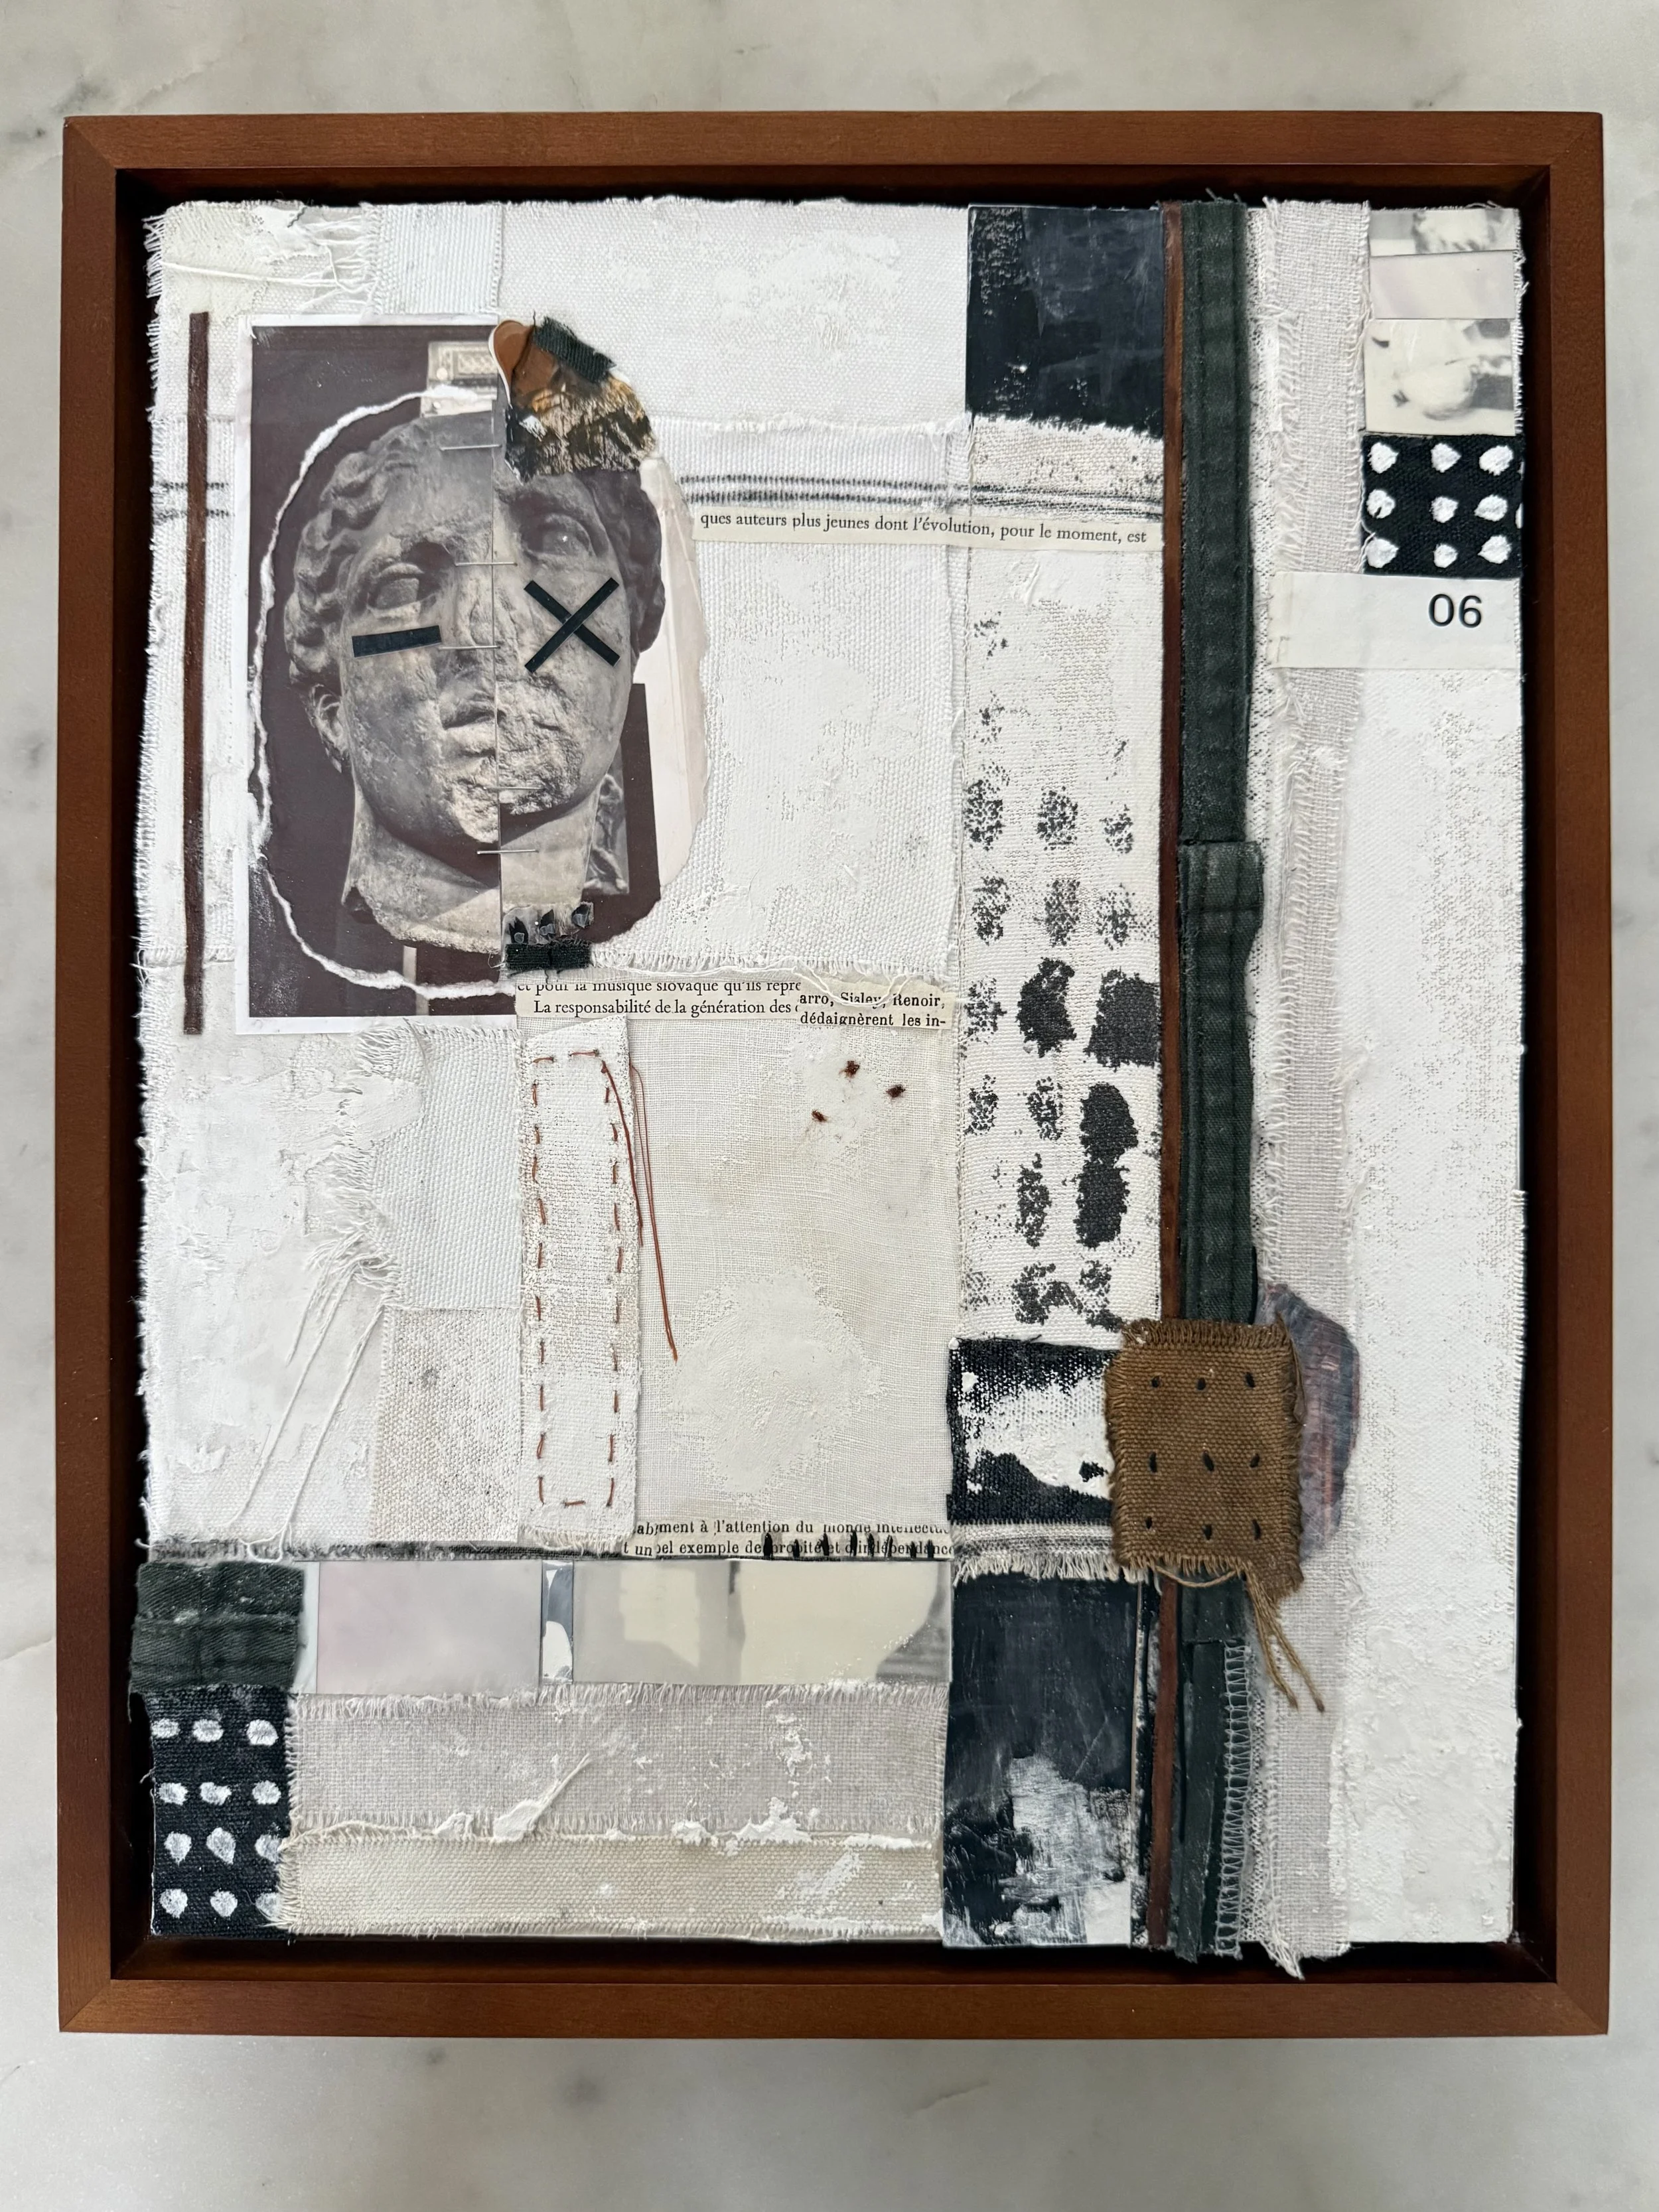
If you try it, I’d love to hear what you end up changing, or even what you decide to keep. I find myself coming back to this idea often, letting something evolve instead of replacing it, and I notice it shows up in my studio work in a similar way too, if you’re curious to see more of that - my studio work.
xx,
Michel


Photo Credit - Brie Williams


MORE FROM THE STUDIO…